Hello readers, welcome to the new tutorial. Here, we will discuss how to use an iPhone as a microphone for for a Mac. Due to the integration of macOS and iOS, we can get different features for using both of them. Such as we can paste text copy on Mac on iPhone and vice versa. This post will discuss the detailed process of setting and using an iPhone as a microphone for your Mac. So let’s get started with how to use an iPhone as a microphone for a Mac.
Requirements to Use Continuity Camera on Mac
The part of macOS Ventura, Apple launched a new feature, Continuity Camera, which helps to use the iPhone as a webcam for Mac. This feature helps to use the iPhone as a Mac’s external microphone.
Continuity camera comes with many features to work on. First, there is a need to use iOS 16 or a later version, which comes with the iPhone XR from 2018.
With that, Mac also supported macOS Ventura or later.
You can also check macOS support with your Mac. If it is supported, update your Mac to macOS Ventura if you do not have one.
With that, Continuity Camera needed iPhone and Mac to use the same Apple ID with two-factor authentication on.
The Apple ID in question is not managed.
The other factor is that the iPhone and Mac must be close to each other and also have Bluetooth enabled.
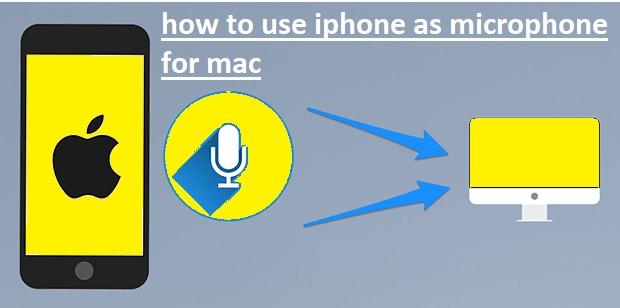
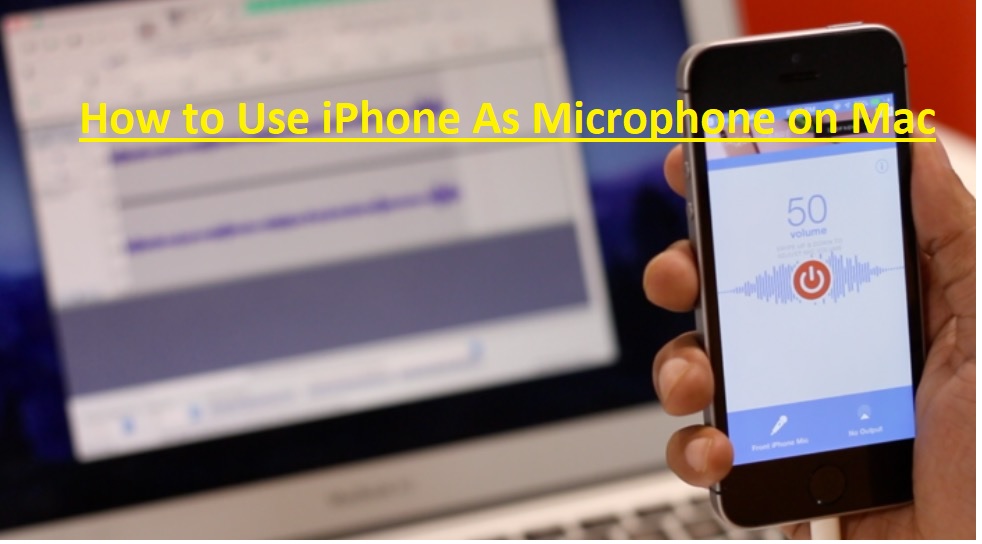
How to Use iPhone As Microphone on Mac
On the iPhone, open the continuity camera by using Settings > General > Airplay & Handoff > Continuity Camera. It will be enabled by default and check to make sure that you have not disabled features.
- On Mac, press the Apple logo in the upper left.
- Choose System Settings from the menu.
- Click the sound from the left panel and then choose input. Mac will show all input options.
- From the list, choose iPhone.
- Then the iPhone will send a notification and show the screen that is connected to the Mac as a microphone with the option for disconnection. With that, we can disconnect from Mac if needed.
Use your iPhone as a webcam or microphone.
Use your iPhone as a webcam on your Mac.
- On the Mac, open any app that accesses the camera or microphone, such as FaceTime or Photo Booth.
- In the app’s settings option, select iPhone as the camera or microphone.
- The continuity app opened on the iPhone and started streaming audio or video from the back camera to the Mac.
- To use the iPhone as the microphone on a Mac without a built-in camera, the iPhone should be in landscape direction and static and have the screen off. With that, you can plug the iPhone into a Mac with a USB.
- On the iPhone, click pause and swipe to unlock.
- On the phone, click the resume or click the side button or sleep button to lock it.
- To stop the phone as a webcam or microscope on Mac, quit the app.
- On the phone, click disconnect, then make sure that you like to disconnect. The iPhone is removed from the camera and microphone in app lists and the list of sound input devices in sound settings.
- For again adding the iPhone, it connects with the Mac through a USB cable.
Use your iPhone as a microphone on your Mac.
- Follow this: Settings > General > AirPlay & Handoff > Continuity Camera.
- At Mac
- Apple > System Preferences., sound option
- Select input in Output and input option
- Select iPhone from the list of devices.
- iPhone will now be used as your Mac’s microphone.
Use your iPhone as a webcam or microphone on your PC.
The iPhone is used as a webcam or microphone on a PC with the use of different third-party apps such as EpocCam or iVCam. These applications connect iPhone to PC through USB or Wi-Fi.
If you installed the app on a PC, use the guidelines in the app to connect to an iPhone. If the iPhone is connected, use a webcam or microphone in the app that supports video or audio input.
How to Use Your iPhone as Your Mac’s Mic Input
- Follow this: Settings > General > AirPlay & Handoff > then open Continuity Camera.
- On the Mac, Apple menu > System Preferences. Press on the Sidebar. Click on the input tab and select iPhone.
- The phone will send a notification and show on the screen that it is connected to a Mac as a microphone to have options to disconnect or pause.
Mac Users Don’t Have to Buy an External Microphone
If anyone has an iPhone, they do not have to buy a distinct external microphone for Mac for high-quality audio. The iPhone can be used due to the Continuity Camera.
You just need macOS Ventura operating on a Mac and an iPhone XR or later running IPS 16. Note that Apple has some features that help to use a Mac to record an iPhone’s screen.
Read also:
Faqs
Can I use my iPhone as a microphone?
We can stream sound from a microphone on an iPhone to MFI hearing devices or or AirPods. It helps to hear better, such as during a conversation in a noisy environment.
How do I use my iPhone as a microphone for PC?
The commonly used app for iPhone as a microphone for PC is “Megaphone.”
This app helps us to connect iPhones to PCs through Wi-Fi and use them as microphones for computers. Another option is to use the “Voice Memos” app on an iPhone for recording audio and transferring files to a PC.
How do I use my iPhone as a microphone for my Mac?
On a Mac, open an app that accesses the camera or microphone, such as FaceTime or Photo Booth. In the menu bar or settings, select iPhone as the camera or microphone.
How can I turn my iPhone into a microphone?
Is there an app to use your iPhone as a microphone?
Megaphone transforms iPhone or iPad into a microphone when you connect with external speakers. With crystal-clear sound and easy setup, it can be heard in minutes.
How to use an iPhone as an input device?
On Mic, press the Apple logo on the top left corner of the screen and open the system settings. In the left-hand panel, move to Sound, and in Output and Input, click the Input tab.
What is mic mode on a Mac?
You can set microphone settings on a Mac to filter the background sounds. Mic modes exist on Mac models from 2018 or higher. On a Mac, open an app that supports mic modes like FaceTime.
Can I use my iPhone as a PC mic?
Yes. The iPhone comes with a built-in microphone that helps to use as an alternative to a PC’s microphone. AirDroid Cast is best to use if you are searching for a microphone app that can turn an iPhone into a mic on a PC.


Can I use my iPhone as a microphone through a Bluetooth speaker?
How do I use microphone mode on Mac?
What is Mike mode on iPhone?
Where is the microphone setting on iPhone?
Why can’t I enable my microphone on iPhone?
What does mic mode do on an iPhone?
How do I turn on microphone mode on my iPhone 14?
What is the difference between voice isolation and a standard mic on an iPhone?
What does it mean when your iPhone has an orange dot?
What is the orange microphone icon on the iPhone 14 Pro?