Hello readers welcome to the  new post. In this post, we will discuss How to Use For and While Loop in LABVIEW. I hope you are already familiar with the for and while loops that you must have used in different programming languages. But now i will teach you in a simple way how to use these two loops in LABVIEW practically.
So let get started.
While Loop in LABVIEW
- The while loop helps us to get the certain condition is satisfied. Here the process is that we have to apply the code in form of shapes in LabVIEW and end values is get.
- There is no endpoint that exists for this loop to work on so it works indefinite point.
- It applies one time just it stops after application of condition used.
So let get started how to make and use while loop in LabVIEW.
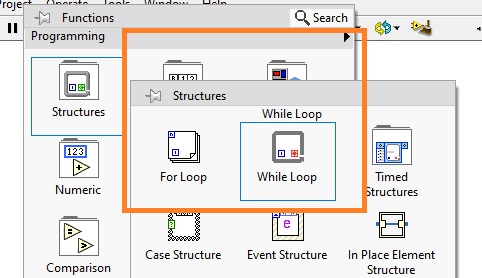
- First of all open the labview and new VI in your computer. Then press the right of the mouse in the block diagram then move to structure and select the while loop can be seen here.
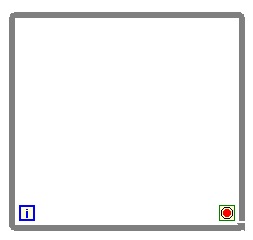
- also can see its physical interface.
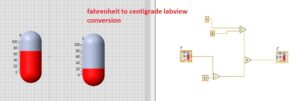
- For a practical understanding of the loop we have designed a program in which we are converting the Fahrenheit to centigrade function.
- The detailed diagram of this project can be seen here. Over this project, we will apply the loops

While Loop in Labview
- Now we will apply while loop to the above circuit for this press right in block diagram and then structure and select the while loop and place according to below diagram
- Now press right on the red button of while then creates and select control as can see in above figure That is a stop button
- Now press the run button our while loop will start execution and continue till the point when we press the stop button mean end of while loop
- Here two conditions for while loop in running mode and off mode can be seen
While Loop Working in Labview
While Loop stops when stop button press
For Loop In LabVIEW
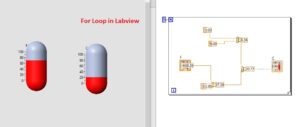
- NOw we will apply the for loop to our above used Fahrenheit to centigrade temperature conversion projects.
- In while loop, we observe that while loop continues to execute the program till we do not stop this function through a button or another tool
- But in the case of for loop, we have to assign the value for that time we have run our program.
- To apply the for loop press right in the block diagram the structure and select the for loop and apply to the circuit.
- After that in for loop, you can see that there are 2 blue options N and I.
- N defines that how much time we can apply our function for this press right on the N and select the constant option and then assign the number for which you want to run your program
- I have selected number 5 so our project will run 5 times then stop automatically after five-time execution ofprogram
- Below diagram explain this process

That is all about the How to Use For and While Loop in LABVIEW. I have explained every parameter related to this post. If you have any further query ask in the comments. Thanks for reading have a good day see you in next post.


