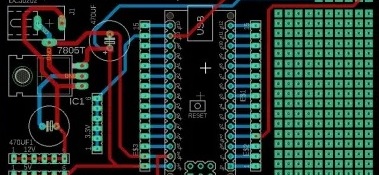
 Hello friends welcome to the new post. In this post, we will have a detailed discussion about Gerber File. It is the software-based file that is created to send the PCB creator to design the PCB according to the requirements that want to get in our PCB board and its design. It consists of 2D picture design of every layer of the PCB board over which different tracks, pads, and vias are shown through the use of lining and diagrams where required and needed.
Currently, it is all over the world used way to explain the machine that processing the board bout the data and info that we will design in our product. It is the very basic phase for the creation of the board. Almost each and every PCB creator and designer using this file and tool to get data from the users and then apply it to make their results.
In this file, there is data related to the length and width of PCB is mentioned with that dia of holes and different quantities of copper used for layer construction. In this post, we will discuss how you can create this file and I will also introduce you online Gerber viewer from which you can see results about your Gerber file and also can manufacturer your PCB design at a reasonable price. So let get started.
How to Make Gerber File
- Here i will use eagle software for the design of Geber file after that we will observe that Gerber file through the use of online Gerber view that PCBWAY.
- For the creation of the Gerber file, you must have the latest version of Eagle software on your PC.
- To make a design press at the file menu, then open, select the board tab then open the folder where we have to save our file.
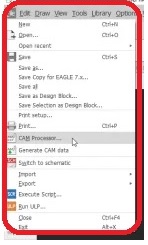
- Press double at the links or points when you make Gerber files after confirming the connections press at the file menu and press at the CAM processor.
- In below figure, we can see the CAM processor screen
- At the upper portion of the figure, we can see the export zip tab click at this tab.
- When you click at the export zip stab then press at the profile available below the Gerber title.
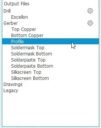
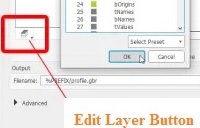
- After there is the last phase press at the process job tab before it presses the edit layer.
- After that, there will be a layers screen open move down and choose the dimension of layers and place it through pressing Ok. after that press at the process job to make our desired Gerber file.
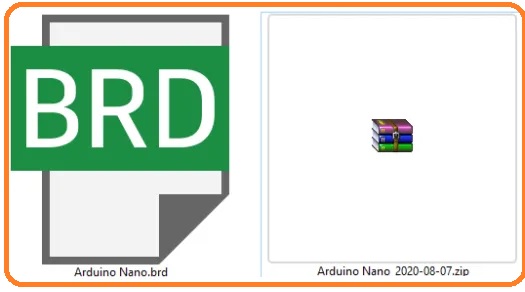
- There will be the creation of ZIP folder that comprises fo all needed details fo Gerber files.
- For extracting of the Zipp folder press right and extract files.
PCBWAY online Gerber Viewer
- Till now we have created our Gerber file now will view our file through the use of an online file viewer. There are numerous file viewers are working but the most trustable and also the user of this viewer is PCBWAY.
- For this press here
- You can also search manually.
- by typing PCBWay online Gerber viewer
- Will use the link shown in the below figure press on it.
- the resultant screen will be shown place your file to that link. The team of professionals and engineers of PCBWAY will see your file and tell you about your design details.
- They not only view Gerber files but also create the PCB according to that given design with reasonable prices.
Thanks for reading have a nice day. I hope you have got a lot of knowledge about the Gerber file. See you in the next post.


