 Hi reader welcomes to another interesting post in this post will have a detailed look at Water Level Detector in LabVIEW. .
. I hope you will get detailed information about the project. In this post, i will explain to you how to make a water level detector in LABVIEW with the use of FPGA. So let’s get started with Water Level Detector in LabVIEW.
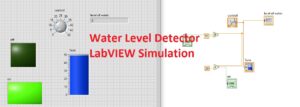
Water Level Detector LabVIEW Simulation
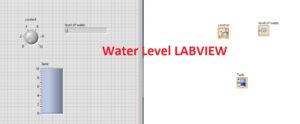
- First of all, move to the front panel and select the knob. For this move press right then numeric and select knob.
- Assign a name to knob for this press right and constant and I put control.
- Now select numeric in front panel a numeric option place in the front panel.
- Assign a name to this numeric level of water.
- Now press right and move to numeric and select tank put in the front panel shown below.
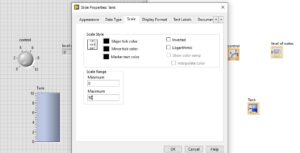
- Now press right at the tank and properties and select scale that is your requirements can select according to you own I select to fifty.
- Also, do this process on the knob and select the 50.
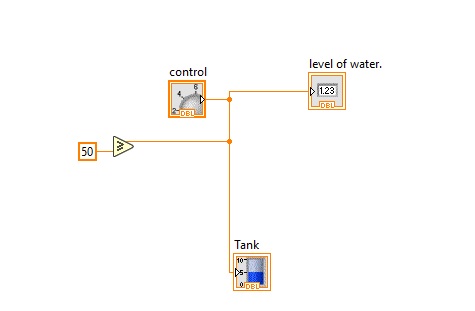
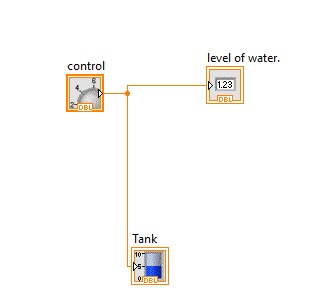
- Now make a connection among the tank level of water and control in block diagram
- After that select the greater to and equal option from the comparison tab in the block diagram.
- Connect one point of greater than and equal to the tank and another put 50.
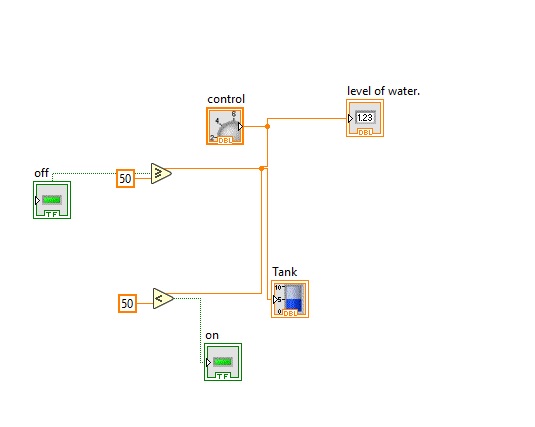
- Now move to the front panel and select the led from boolean i select the square led you can select according to your own choice.
- Select another led and I give names on and off.
- Select another less option from the comparison in the block diagram. shown below and make connection according to the diagram.’
- Now press the run button till the and press at the knob till the 50 levels of water is not get off led work as we get the 50 levels in the water on led will blink as shown in below figure.
That is all about the Water Level Detector LabVIEW Simulation if you have any query ask in comments thanks for reading have a nice day.


