Hello, readers welcome to the new tutorial. In this post, we will learn How to Use Debugging Tools in NI LabVIEW. I hope you are well aware to the errors existing in the different programming languages that you use. And solve these errors you must use different techniques. Similar there is some errors that can exist in the project created in the LABVIEW Program.
In this post, we will make a project and will see that how different errors wll come in that program and can solve that error select get started.
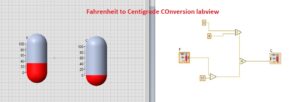
How to Use Debugging Tools in NI LabVIEW
- There are 2 main types of errors that normally exist tin the programming that creates a hindrance for working the program and give the improper output.
- LABVIEW comes with the feature that if there is some error exist in the program LabVIEW ha feature that tells that there is some error occur in thr circuit that can have to resolve.
- If your program is not running after pressing a run button that means VI is broken run tab will inform you about that.
- Broken vi means that the wired of component is not properly linked. Press on the run tan error list will come to you and you can see from where the wire is not attached.
- The main reason to break the wire is that there is no proper configuration or loose connection is made.
Debugging Tools in NI LabVIEW
- Now we will see how to debug the error practically. I have made the program in which Fahrenheit is converted to centigrade.
- You can see the practical circuit here
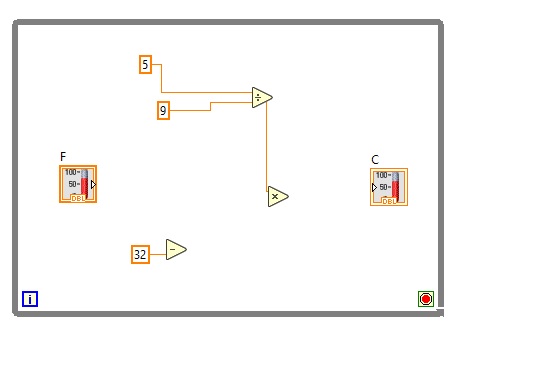
- Now you can see that there is a working circuit now we made some errors to have an understanding of debugging process in LabVIEW.
- Here you can see that there are some errors that exist in the program that we have made.
- Now if we run the error program then we will see the box that tells us about the error esixting in program and how to solve them.
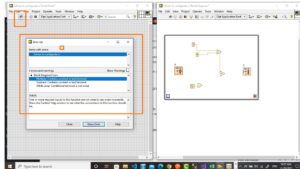
- In the above figure you can see that there are three types of error it has first
- Multiply tab is not wired properly
- Subtract tab is not wired properly
- While the loop conditional terminal is not wired properly.
- Now we resolve all their error or do the debugging to make our project work in the right way.
- I have resolved all the errors displayed in the above figure and now you can see that our program is working in the right way.
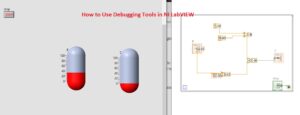
- Debuggin tool is best and fine that is helping us to make our program workable in the right way according to certain conditions and demands that we needed.
So that is all about the How to Use Debugging Tools in NI LabVIEW. I have explain all steps need to use debug the program if you have any further query ask in the comments. Thanks for reading have a good day see you in the next post.


