Hello, guys welcome to new post. Here we will discuss How to Increase Work Area in Proteus. Proteus is electronic-based software used to make different types of projects that we generally make. It is a very helpful tool that helps us to design any projects and simulate them according to our requirements. Before making a project practically if we make it on proteus and run accurately. Will come to know whether either our project is configured according to design requiems or not.
Here we will discuss how we can increase the working area in the proteus. Sometimes it happens when you are working on such projects that have a large number of components and cover a large space and some components not configured properly in the working area proteus to configure some other components that are not accurately positioned on the board. So we have to increase the work area of proteus to simulate the projects. For this purpose, we have to follow some steps that are discussed below in detail. So let’s get started.
How to Increase Work Area in Proteus
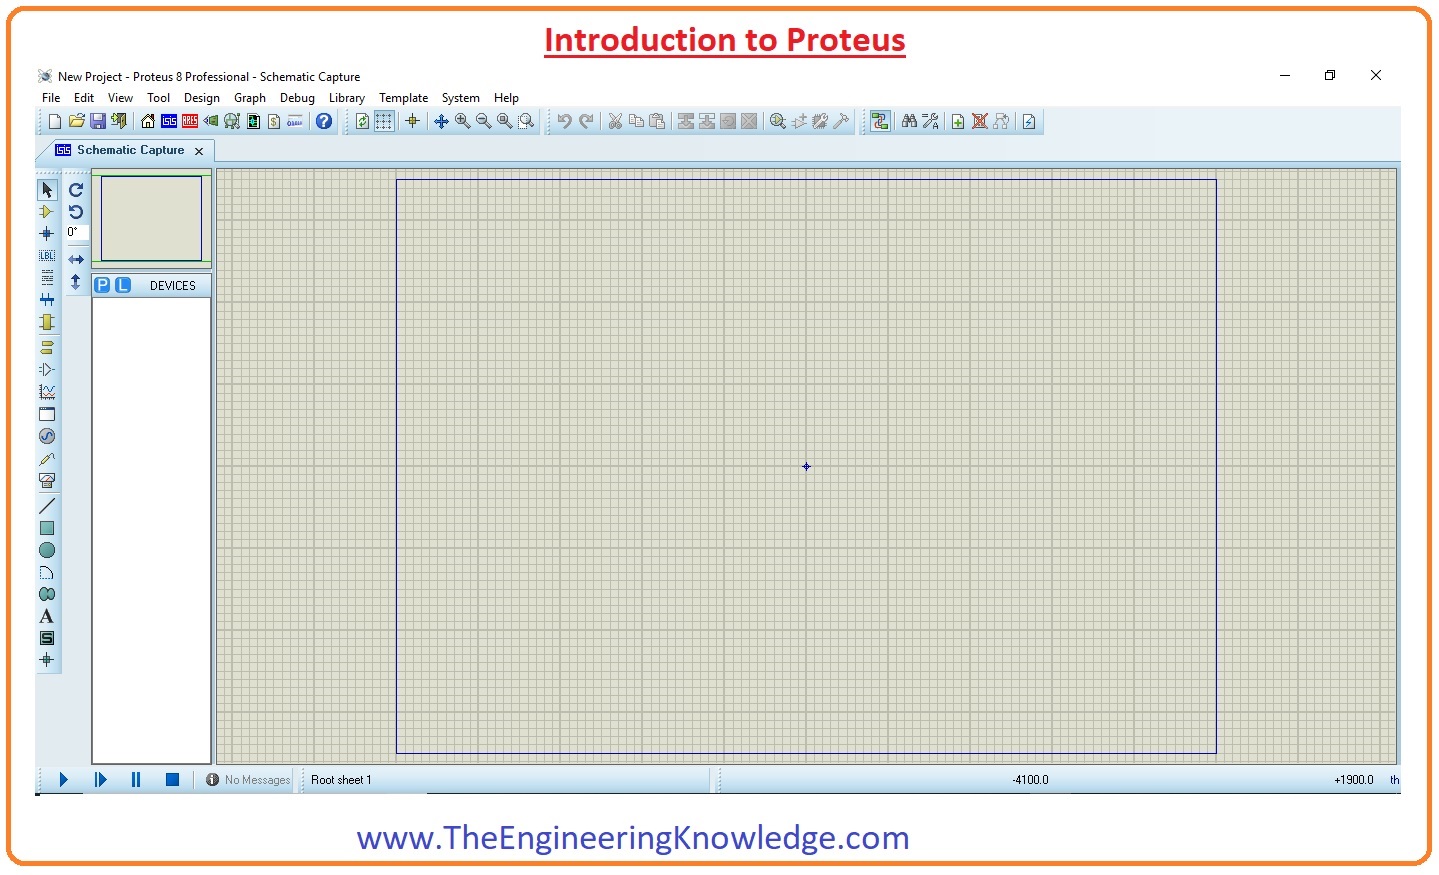
- In the below figure, you can see the working area of proteus that lies in the below color rectangle where we have to make the design of our projects sometimes it is short to make projects so some steps have to be followed to make designs that is listed here.
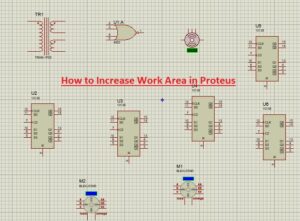
In the below diagram, you can see different components that are used to make projects but some components are not placed on this screen since work area has been gotten by other components so now we will follow some steps to place other components.
- At the top you can see the system option press on it then a window will open where you can see the sheat size option
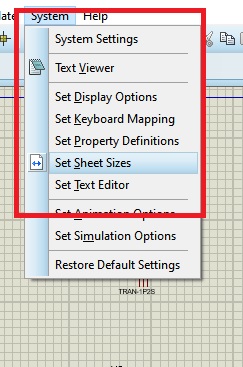
- Press on the sheet size tab. A new screen will open, where 6 different sheet sizes will be shown, which can be adjusted according to the new requirements.
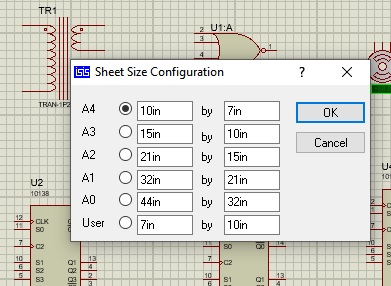
- Here I choose the 32in option and now area for further components has been increased now I can place more components to make a project that I wanted.
- This tip is very helpful to increase the work area for any projects that have the large number of components.

What is the blue box in Proteus?
- The blue box is used as the editable part where components can be put. This window does not have a scroll bar, we use a preview window to set the schematic’s visual range.
What is the use of Proteus software?
- The proteus design is a software tool used for electronic design automation. The software used by designer engineers and technicians for making schematics and electronic circuits for making printed circuit boards
That is all about the How to Increase Work Area in Proteus. I have explained all the steps needed to increase the working area of Proteus. If you have any difficulty mention in below comment box. Thanks for reading have a good day
Read also